Introduction
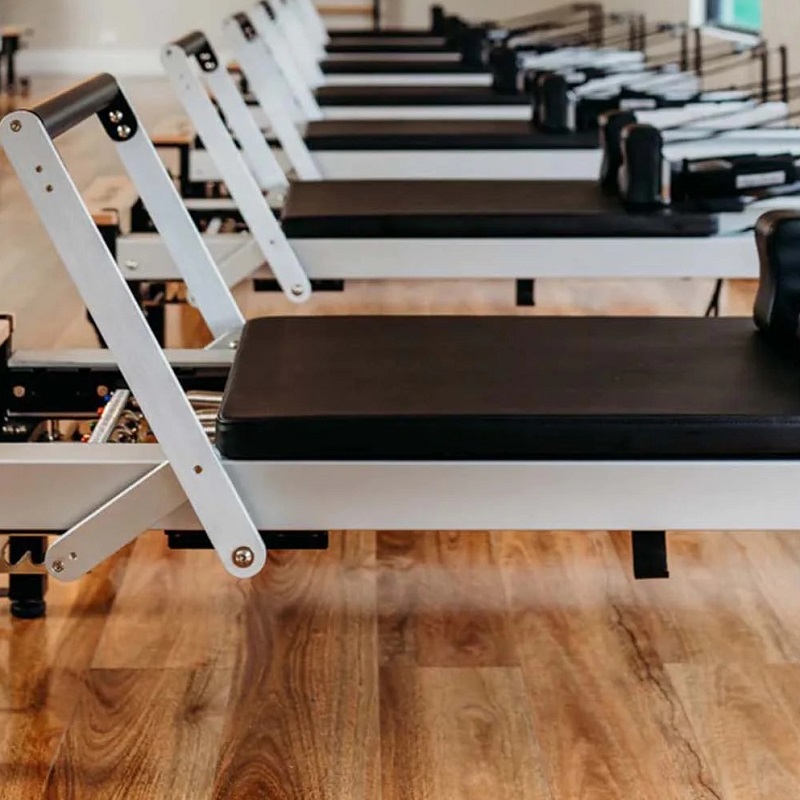
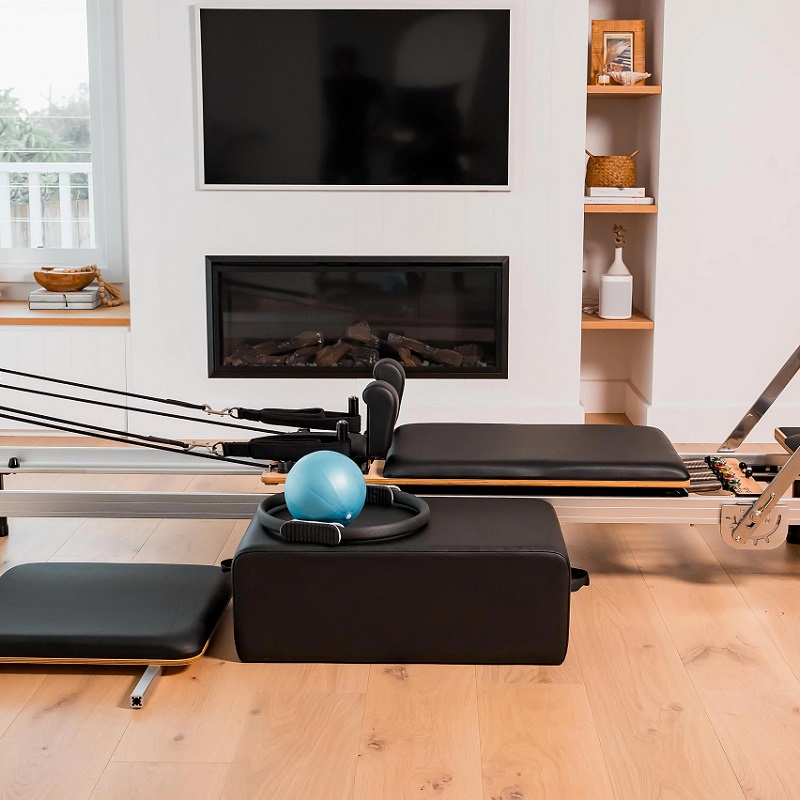
As fitness enthusiasts increasingly discover the benefits of reformer exercises, the demand for versatile and space-saving equipment has soared. Among the best options available in the market today is the foldable pilates reformer. These compact machines offer the same benefits as traditional reformers but take up significantly less space, making them ideal for home gyms, apartments, or smaller workout areas.
In this article, we will guide you through the essential factors to consider when choosing the right foldable pilates reformer for your fitness needs. We’ll discuss features, specifications, and personal preferences to help you make an informed decision. Whether you’re a beginner seeking to enhance your fitness journey or an experienced practitioner looking for a premium model, understanding the nuances of foldable reformers will empower you to choose wisely.
Understanding the Benefits of Foldable Pilates Reformers
Space-Saving Design
When considering home fitness equipment, space is often a primary concern. Foldable pilates reformers are designed with efficiency in mind, allowing users to maximize floor space without sacrificing workout quality.
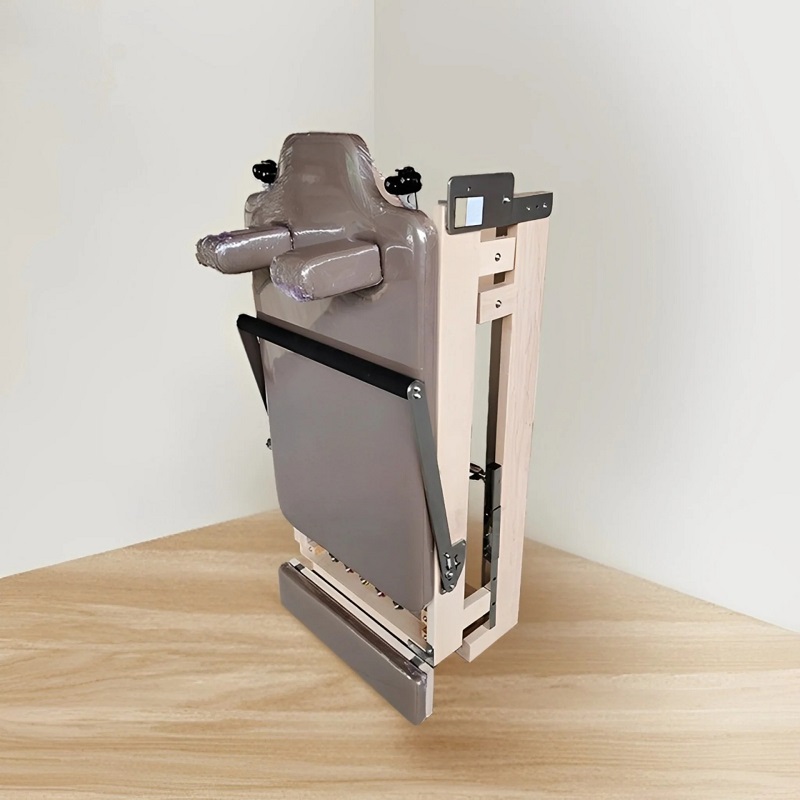
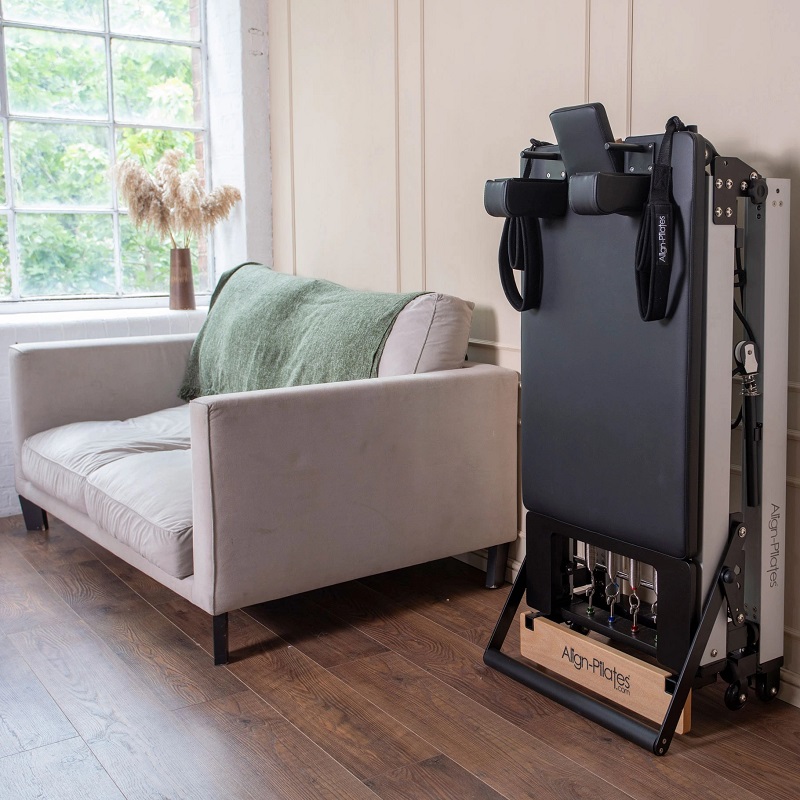
- Compact Storage: The ability to fold and store the reformer vertically means you can easily tuck it away in a closet, under a bed, or against a wall when not in use. This feature is particularly beneficial for individuals with limited workout space.
- Portable Options: Many foldable models are lightweight and equipped with wheels, making them easy to move. If you enjoy practicing pilates in different parts of your home or taking your reformer outdoors, portability is a huge advantage.
Versatility in Workouts
Another significant advantage of using a foldable pilates reformer is the versatility it offers.
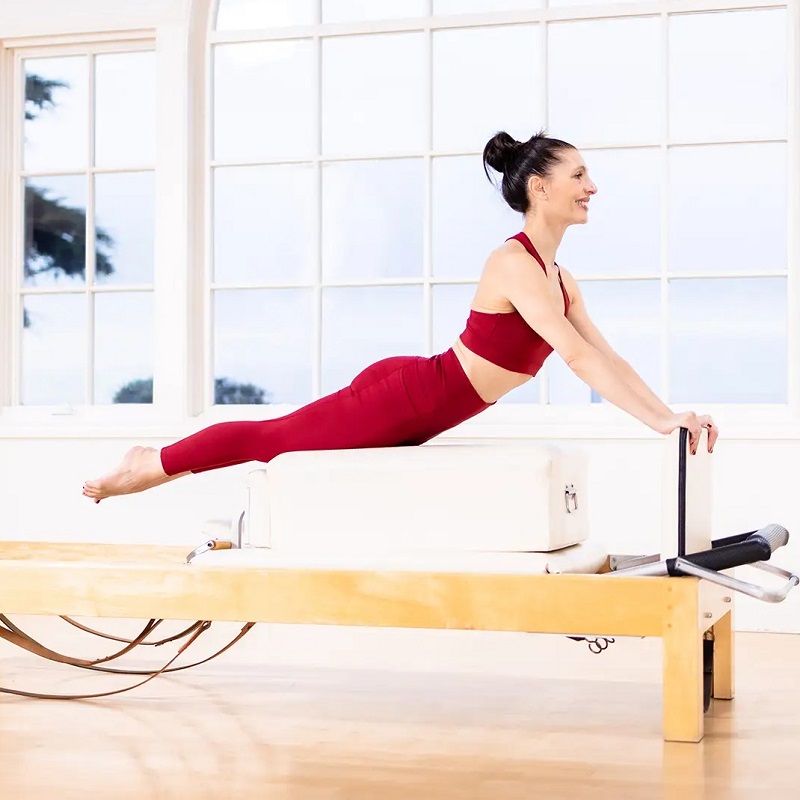
- Full-Body Workouts: Unlike traditional pilates machines that may focus on specific muscle groups, most foldable reformers provide a range of exercises that target various muscles. Users can perform everything from leg stretches to core strengthening routines, promoting overall body conditioning.
- Adjustable Resistance: Most foldable reformers feature adjustable springs, allowing you to customize the resistance level according to your fitness goals. Whether you’re rehabilitating an injury or seeking an intense workout, these adjustments ensure a suitable experience for everyone.
Affordability Compared to Traditional Reformers
For many, the thought of investing in fitness equipment can be daunting, especially when considering the costs associated with professional-grade machines.
- Lower Price Point: Generally, foldable pilates reformers are more affordable than their non-folding counterparts. This affordability allows more people to access quality equipment without breaking the bank.
- Cost-Effective Solutions: Investing in a foldable model means you can achieve similar results to a traditional reformer while spending less, making it an excellent option for budget-conscious fitness enthusiasts.
Key Features to Look for in a Foldable Pilates Reformer
Size and Dimensions
Before embarking on your journey to purchase a foldable pilates reformer, it’s crucial to assess its size and dimensions.
- User Height Compatibility: Ensure that the reformer accommodates your height comfortably. Many manufacturers provide specifications on the maximum and minimum height recommendations, so take note before making a decision.
- Footprint: The overall footprint of the reformer, even when extended, should fit within your available space. Measure the area where you intend to use the machine to prevent any surprises upon delivery.
Build Quality and Materials
Investing in a high-quality reformer is essential for longevity and safety.
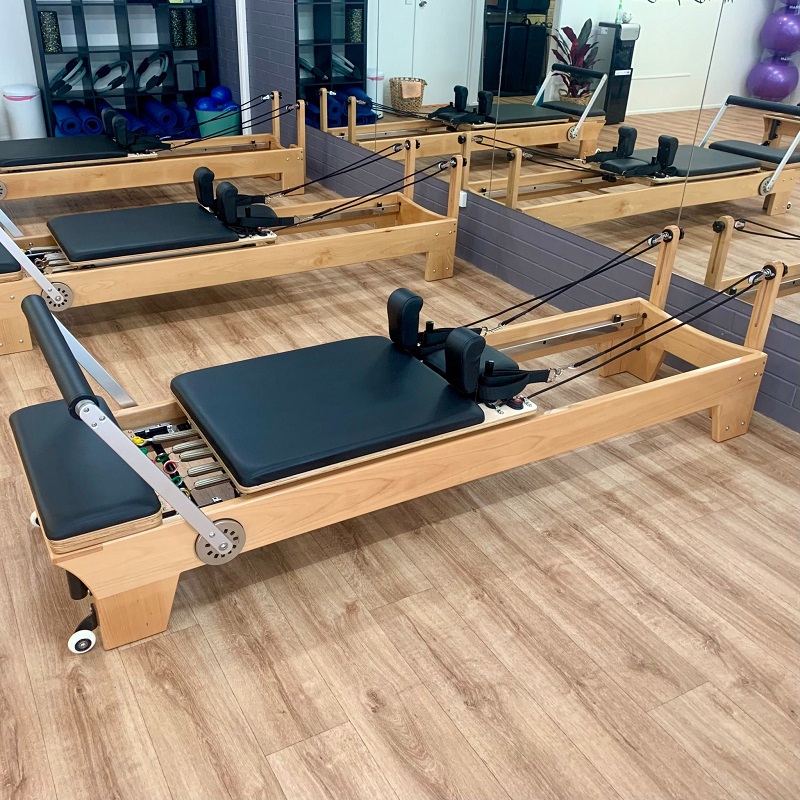
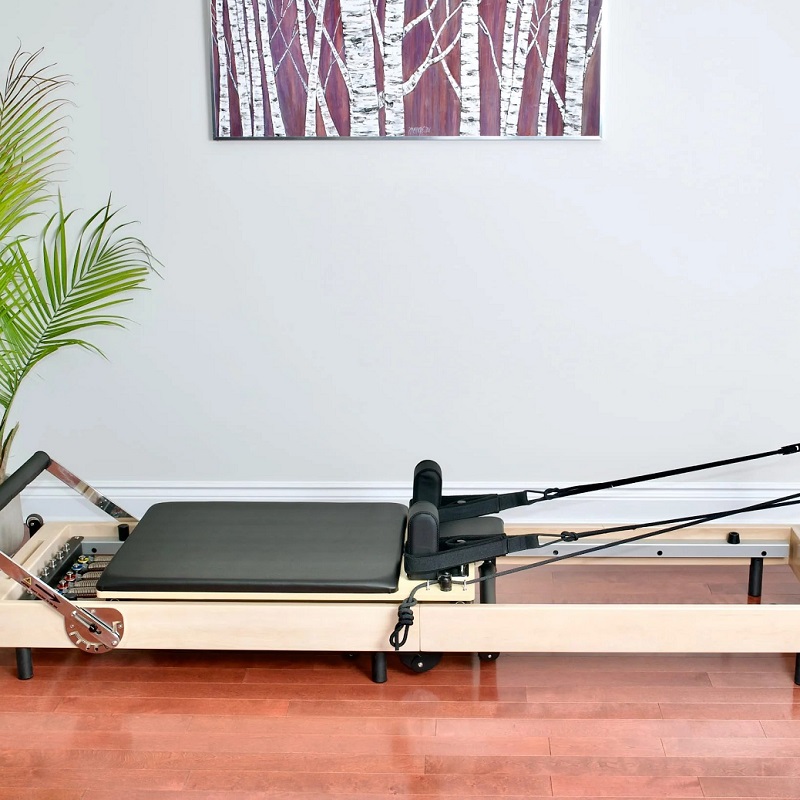
- Construction Materials: Select a reformer made of durable materials, such as hardwood or high-quality aluminum. Sturdier machines tend to offer better stability during workouts, which is crucial for safety.
- Comfort Features: Look for padded footbeds, adjustable shoulder blocks, and comfortable grips. These features can enhance overall comfort during use, allowing for longer and more effective workouts.
Stability and Performance
Stability is another key factor influencing the effectiveness of your foldable pilates reformer.
- Base Design: A reformer with a wide base helps promote stability and prevents tipping during exercises. It should also have rubber feet to grip the floor securely, further ensuring that it doesn’t slide around inadvertently.
- Smooth Operation: Test the glide of the machine before purchasing. The carriage should move smoothly and be free from any sticking or noise. A quality reformer enhances your workout experience and allows for greater focus on your form.
Essential Accessories
When assessing a foldable pilates reformer, consider the accessories that may come with it.
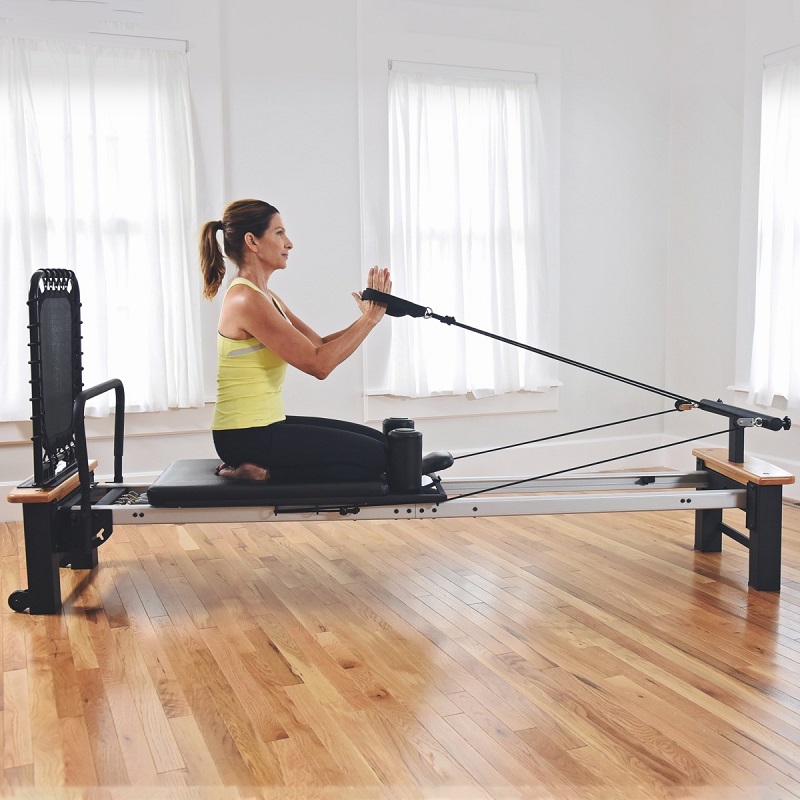
- Included Accessories: Many reformers come with added features, such as ropes, straps, or additional resistance springs. These accessories can enhance your workout and help you explore a wider variety of exercises.
- Storage Solutions: Some models also offer built-in storage space for accessories like weights or bands. This can be essential for maintaining order and cleanliness in your workout area.
Budget Considerations
Evaluating Price Ranges
When searching for the right foldable pilates reformer, it’s essential to determine your budget.
- Price Variability: The cost of foldable pilates reformers can vary significantly based on features, brand, and materials. Generally, entry-level models can be found for a few hundred dollars, while higher-end reformers may exceed a thousand.
- Long-Term Investment: Consider how often you plan to use the reformer and whether it’s a long-term fitness solution. Investing in quality equipment can pay off in terms of durability and functionality over time.
Cost vs. Features
Weigh the cost against the features offered.
- Assessing Necessities: Identify the features that are most important for you. Some models may offer advanced adjustments or additional accessories, while more affordable options might lack these perks. Prioritize based on your specific fitness needs and preferences.
- Sales and Discounts: Keep an eye out for sales, especially during holidays or fitness industry events. Many retailers offer discounts that could help you score a high-quality reformer at a more affordable price.
Avoiding Overpriced Equipment
While it can be tempting to opt for high-end models, be cautious of overpaying for features you may not need.
- Research Reviews: Read reviews from verified users to better understand the performance and value of specific models. This research can help prevent buyer’s remorse and ensure you invest wisely.
- Comparative Analysis: Compare similar models across different brands to find the best options that meet your criteria without inflating costs unnecessarily. Higher prices don’t always equate to better quality.
Safety Guidelines for Using
Proper Usage Techniques
Ensuring safe operation of your foldable pilates reformer is important for preventing injuries.
- Read Instructions Thoroughly: Familiarize yourself with the assembly and operational instructions provided by the manufacturer. Understanding how to use the machine correctly will enhance safety and effectiveness.
- Warm-Up Exercises: Engage in a proper warm-up before starting your reformer workout. This practice prepares your muscles and joints, reducing the risk of injury, especially when performing more rigorous exercises.
Maintenance Tips
To extend the life of your foldable pilates reformer, regular maintenance is key.
- Routine Checks: Regularly inspect your reformer for wear and tear, ensuring all components are secure and functioning correctly. Check for loose screws, damaged padding, and spring conditions periodically.
- Cleaning Procedures: Clean the reformer after each use to maintain hygiene. Wipe down surfaces with a soft cloth and mild cleaning solution to prevent build-up of sweat and dust.

Understanding Health Benefits
Physical Fitness Benefits
Using a foldable pilates reformer can lead to numerous fitness gains.
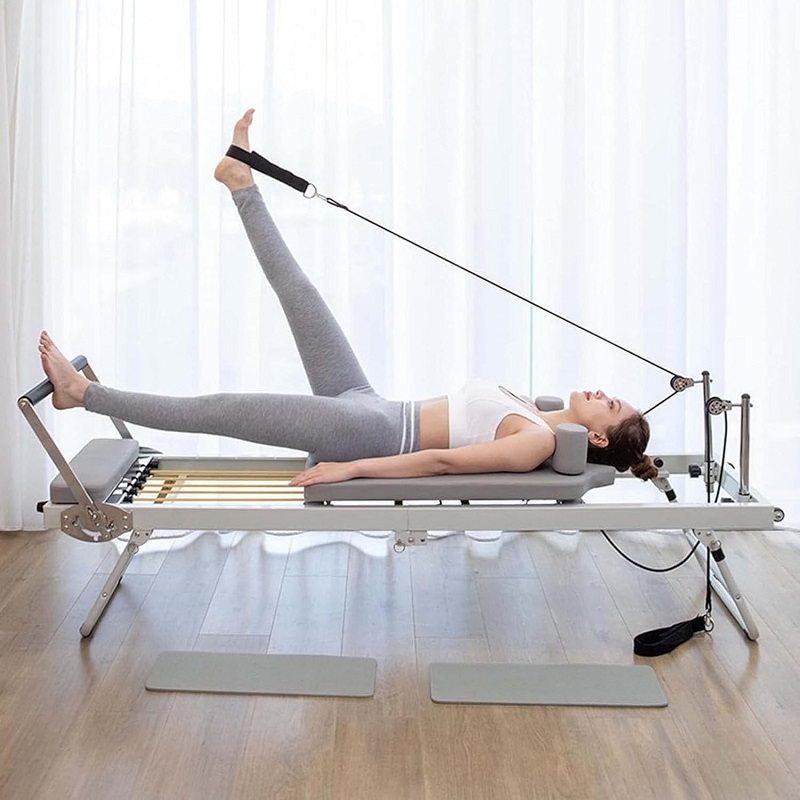
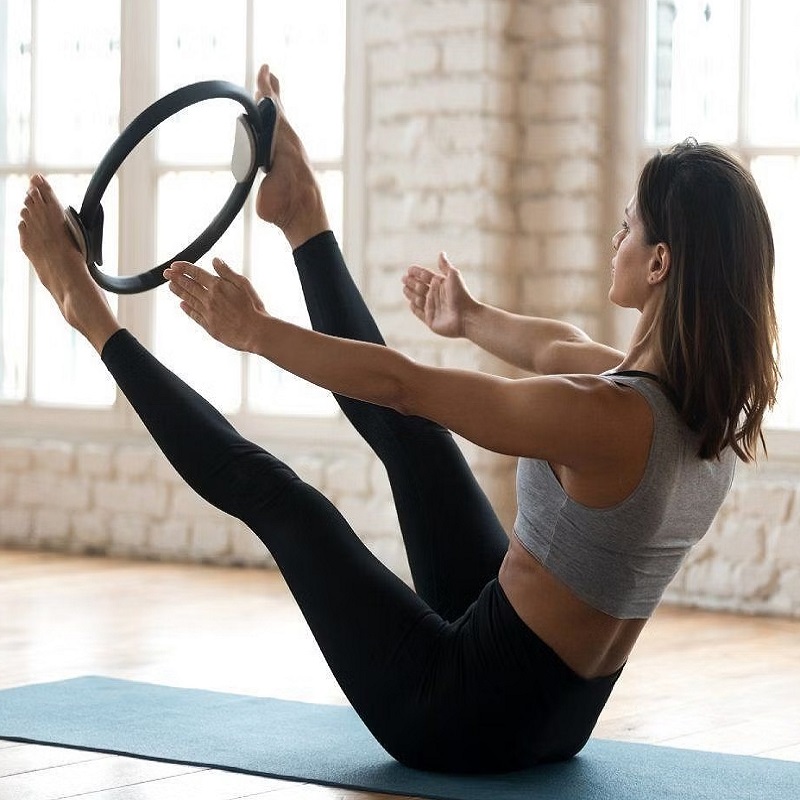
- Core Strengthening: Pilates exercises target the core, helping improve stability and balance. As you engage your core muscles, you build essential strength that can assist in daily activities.
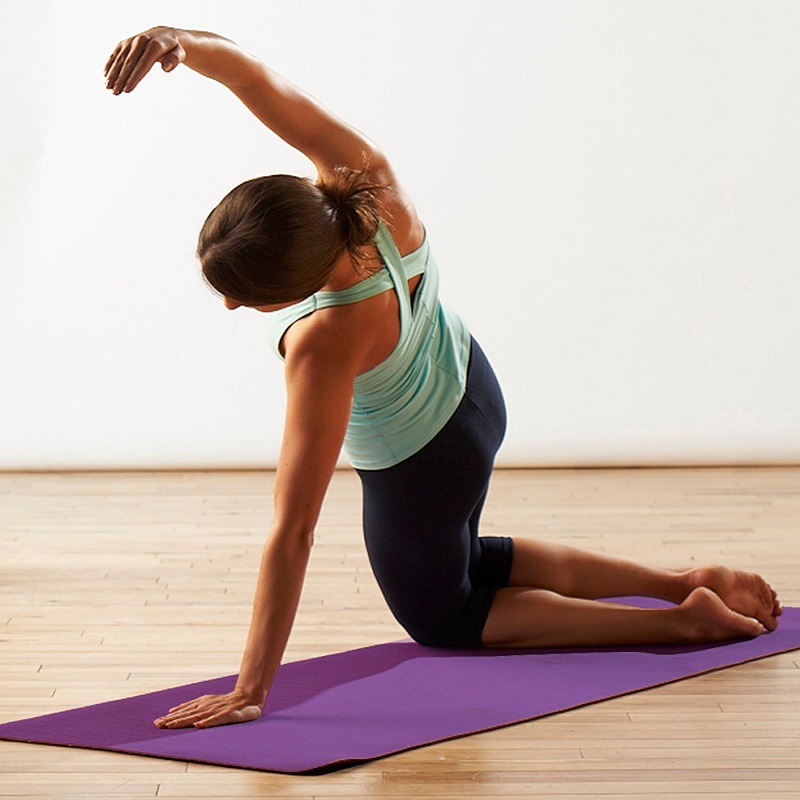
- Flexibility Improvement: Regular use of the reformer can lead to increased flexibility and joint mobility. Engaging in stretching routines that utilize the reformer helps elongate muscles and improve overall body movement.
- Posture Correction: Many pilates exercises focus on alignment and posture. Incorporating a reformer into your routine can help reinforce good posture habits, which are beneficial for overall spinal health.
Mental Wellness
Pilates can also play a significant role in mental well-being.
- Mind-Body Connection: Pilates emphasizes the connection between the mind and body through controlled movements. This practice encourages focus and mindfulness, promoting relaxation and reducing stress levels during workouts.
- Positive Lifestyle Changes: Incorporating regular exercise into your routine can lead to healthier lifestyle choices, improving overall mental health. The sense of achievement from mastering pilates techniques can foster confidence and motivation.
Rehabilitation Benefits
For individuals recovering from injuries, a pilates reformer can be a valuable tool.
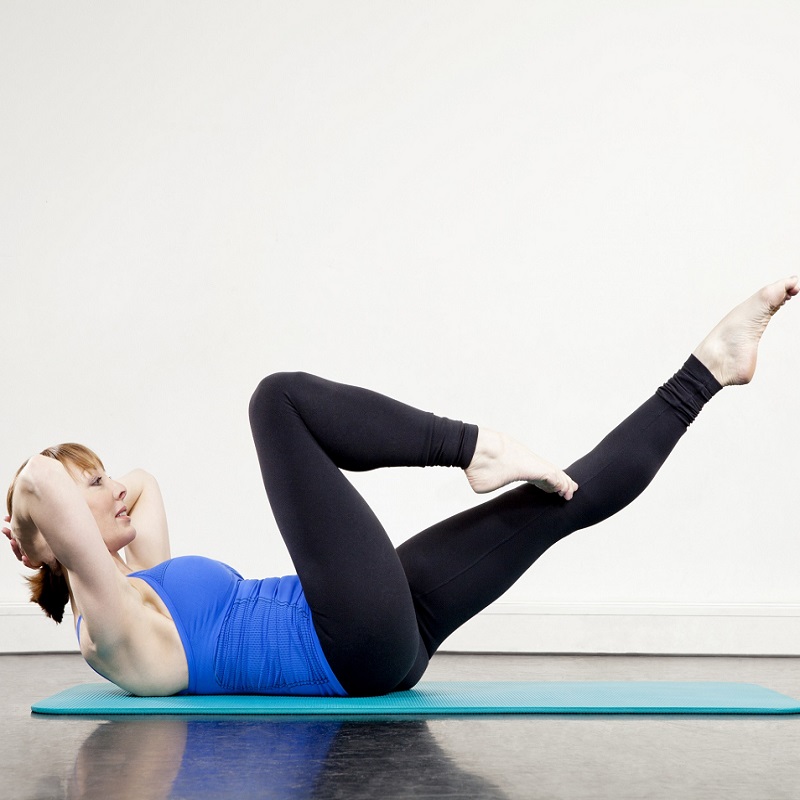
- Low-Impact Exercises: The reformer’s design allows for low-impact workouts that reduce stress on the joints. This quality is particularly advantageous for those dealing with rehabilitative needs.
- Guided Recovery: As part of a physical therapy regimen, pilates can help restore strength and flexibility while providing a supportive environment for gradual progress.
Common Mistakes to Avoid When Choosing
Not Testing the Equipment
Before making a purchase, many forget to test the equipment.
- Trial Opportunities: Some fitness stores allow customers to try out fitness equipment before buying. Take the opportunity to test the foldability, comfort, and ease of use.
- Assessing Functionality: Pay attention to how the reformer operates, including its adjustability and stability. Make sure that it feels comfortable to use for your body type.
Ignoring Warranty and Support
Another common oversight is neglecting to check the warranty and customer support options.
- Importance of Warranties: A solid warranty is a good indicator of the manufacturer’s confidence in their product. This coverage can protect your investment in case of defects or issues.
- Customer Support Access: Look for brands that offer excellent customer service. Having quick access to support can be a lifesaver if you encounter problems or need repairs.
Choosing Your Ideal Foldable Pilates Reformer
Investing in a foldable pilates reformer can greatly enhance your fitness journey while fitting seamlessly into your home environment. By considering key aspects such as size, materials, budget, and personal fitness goals, you will be well-equipped to make an informed decision that meets your specific needs.
The versatility and space-saving design of foldable reformers empower individuals to engage in high-quality workouts from the comfort of their own homes. As you embark on your journey with a foldable reformer, remember to prioritize safety and maintenance to maximize the longevity of your equipment.
Ultimately, selecting the right reformer can provide numerous physical and mental health benefits, enhancing your overall quality of life. So, get ready to roll out your new equipment and take your practice to the next level!
With careful consideration and the right knowledge, you can enjoy the benefits of pilates through a foldable reformer tailored to your unique needs, ensuring a rewarding fitness experience for years to come.