Choosing the Right Cleaning Solution
Selecting the correct solution of cleaning a yoga mat is vital for both the longevity of your yoga mat and your own safety. There are commercial cleaners designed specifically for yoga mats, but some household items can be just as effective and less harsh.
Understand Your Mat’s Material
Before choosing a cleaner, know your mat’s material. Most mats are from PVC, rubber, TPE, or eco-friendly materials. Use mild detergents for PVC and TPE mats. Natural rubber mats respond well to gentle, non-oil-based cleaners.
Opt for Specific Yoga Mat Cleaners
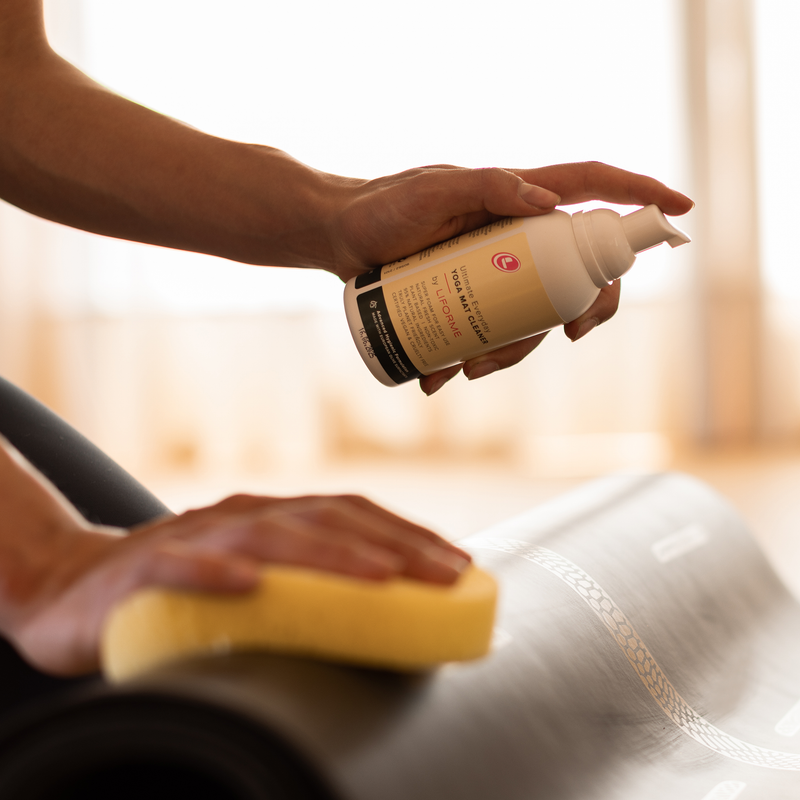
There are yoga mat cleaners available that are formulated to safely disinfect and deodorize without damaging the mat’s surface. They often contain natural ingredients that provide a gentle clean without leaving a slippery residue.
DIY Solutions
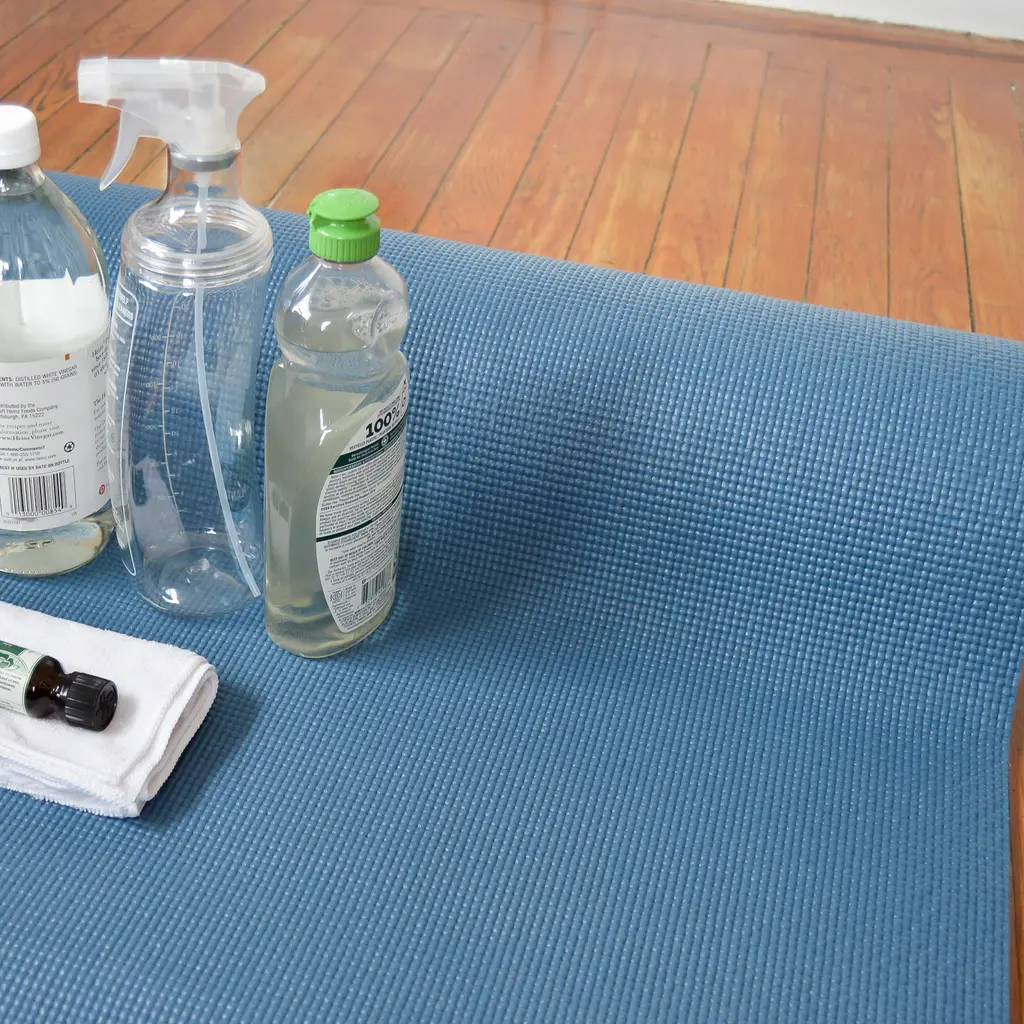
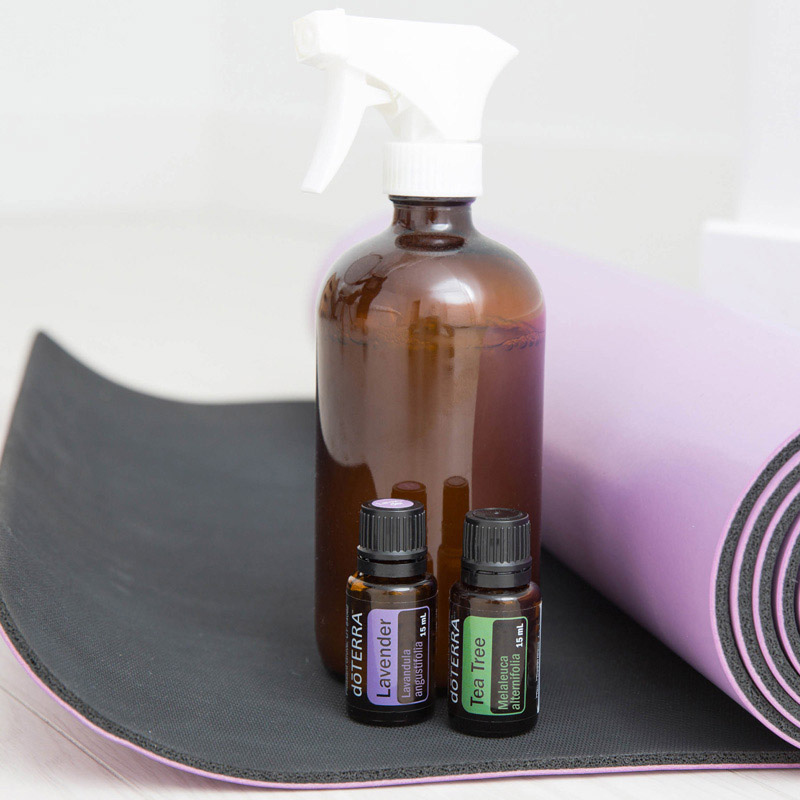
Making your own cleaner can be a cost-effective and natural method. Common ingredients include water for dilution, white vinegar or witch hazel for disinfecting, and essential oils for a fresh scent. Always do a spot test to check your mat’s reaction to homemade solutions.
Remember to dilute your chosen cleaner properly and avoid using excessive amounts. Harsh chemicals or overuse of even natural solutions can break down your mat over time. Saturate a cloth or spray directly onto the mat before wiping it down, ensuring even and gentle cleaning. Keep these considerations in mind for an effective, safe cleaning routine.
Daily Cleaning Routine for Your Yoga Mat
Maintaining the cleanliness of your yoga mat after each session is crucial. Here’s a simple daily cleaning routine:
- Wipe Down After Use: Right after your yoga practice, take a moment to wipe down the mat with a damp cloth. This removes immediate dirt and sweat.
- Use a Gentle Spray: Spritz a mix of water and mild detergent or specific yoga mat cleaner across the mat’s surface. Keep the formula simple to avoid residue.
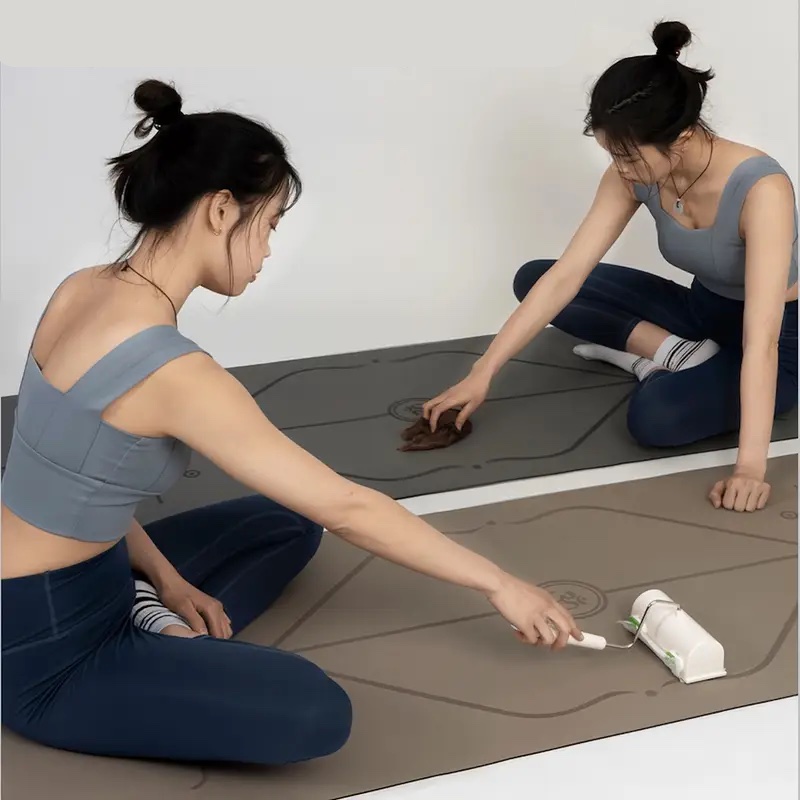
- Soft Cloth Gentle Rub: With a soft cloth, gently rub the cleaner over the mat in a circular motion. Be thorough but gentle to avoid damaging your mat.
- Air Dry Briefly: Let your mat air dry for a few minutes before rolling it up. This prevents moisture from becoming trapped and causing odor or mildew.
- Consistent Practice: Make this cleaning practice a habit after each yoga session. It assures that your yoga mat stays fresh and ready for your next workout.
By following this routine, you ensure the longevity and hygiene of your yoga mat. It’s a quick step that keeps your practice safe and enjoyable. Use the keywords ‘cleaning a yoga mat’ in your routine to keep it centered and effective.
Deep Cleaning Process for Stubborn Stains
Sometimes, despite regular cleaning, yoga mats can acquire stubborn stains and odors. Dealing with these requires a deep cleaning process. Here’s how to restore your mat to its prime condition.
- Prepare Your Cleaning Solution: Mix warm water with a mild detergent or a recommended yoga mat cleaner. Ensure it’s gentle enough to prevent damage to your mat.
- Submerge if Possible: If the mat’s material allows, submerge it in the solution to let it soak. This helps loosen the ingrained dirt. Check the manufacturer’s guidelines to see if your mat is submergible.
- Scrub Gently: Use a soft-bristled brush to carefully scrub the stained areas. Work in a circular motion and always be gentle to avoid harming the surface of the mat.
- Rinse Thoroughly: After scrubbing, rinse your mat with clean water. Make sure no soap residue remains as it can make the mat slippery and unsafe.
- Remove Excess Water: Squeeze out excess water gently. Do not twist or wring the mat as it could damage it.
- Air Dry Completely: Lay your mat flat or hang it to dry. Ensure it is completely dry before you use it again. This step is crucial to prevent mold and odors.
For very persistent stains or smells, adding baking soda to the cleaning mix can be effective. Remember, performing this deep cleaning routine infrequently can help maintain ‘cleaning a yoga mat’ effectively, without wearing it out prematurely. Always consult your mat’s care instructions to ensure proper maintenance and longevity.
Drying Your Yoga Mat Properly
After cleaning, drying your yoga mat is a critical step. Drying helps prevent mold and keeps the mat safe for use. Follow these tips to dry your mat the right way:
- Avoid Direct Sunlight: Keep your mat out of direct sunlight. This can cause fading and degrade the material.
- Find an Airy Space: Choose a well-ventilated area to lay out your yoga mat. Good airflow speeds up drying.
- Use a Towel: Pat down your mat with a towel to remove excess moisture. This shortens the drying time.
- Hang It Up: If possible, hang your mat to dry. This ensures it dries evenly on both sides.
- Wait Until Completely Dry: Give your mat plenty of time to air dry. Roll it up only once it’s fully dry.
- Avoid Heat Sources: Stay away from heaters or other heat sources. These can warp or shrink your mat.
By incorporating these steps when ‘cleaning a yoga mat’, you protect your investment. A well-dried mat is a clean and healthy foundation for your yoga practice.
Maintenance Tips to Keep Your Mat Fresh
Keeping your yoga mat fresh not only makes your practice more pleasant but also extends the life of your mat. Here are some maintenance tips:
- Store Properly: After ‘cleaning a yoga mat’ and drying it fully, roll it up loosely. Store it in a cool, dry place away from direct sunlight.
- Use a Mat Bag: Protect your mat from dust and dirt by using a yoga mat bag when transporting or storing it.
- Avoid Sharing: To keep your mat fresh, it’s best not to share it. This reduces the spread of germs and sweat from others.
- Refresh Regularly: Spritz your yoga mat with a gentle cleaning solution after every few uses, even if it’s not visibly dirty. This keeps it smelling fresh.
- Rotate Mats: If you practice regularly, consider having more than one yoga mat. Rotate between them to give each mat time to air out completely.
- Spot Clean Quickly: Address spills or sweat marks immediately. This helps prevent stains and odors from setting into your mat.
By following these maintenance tips, you can ensure your yoga mat remains a clean and welcoming part of your practice routine.
Natural Alternatives for Mat Cleaning
When ‘cleaning a yoga mat’, using natural solutions is not only eco-friendly but also gentle on the material. Here’s how to tap into the power of nature:
- Employ White Vinegar: Mix equal parts white vinegar and water. It disinfects without harsh chemicals.
- Leverage the Power of Baking Soda: Sprinkle baking soda on the mat, let it sit, then wipe away. It’s great for neutralizing odors.
- Use Witch Hazel: This natural astringent can replace chemical disinfectants. Dilute with water for a safe clean.
- Add Essential Oils: A few drops of lavender or tea tree oil can add a refreshing scent. These oils also have antibacterial properties.
- Try Lemon Water: Lemon’s natural acidity can help remove stubborn stains. Mix with water and use sparingly.
- Harness the Magic of Salt: Coarse salt can scrub away dirt. Rinse well after use to avoid residue.
These alternatives can keep ‘cleaning a yoga mat’ safe and natural. They protect both the environment and your mat’s integrity. Remember to always do a spot test before applying any new cleaning solution to the entire surface.
When to Replace Your Yoga Mat
Just like any fitness gear, yoga mats wear out and need replacement. Here’s when to do it:
- Look for Wear and Tear: Examine your mat for visible signs of deterioration. If you notice tears, rips, or areas where the mat has thinned out, it is time to consider getting a new one.
- Loss of Stickiness: If your mat starts to lose its grip and you find yourself sliding during poses, its non-slip surface may have worn off. This is a clear indicator that you need a new mat.
- Noticeable Odors: A well-maintained mat should not smell. If persistent odors linger even after ‘cleaning a yoga mat’, it’s time for a replacement.
- Eco-Friendly Options: When you’re due for a new mat, consider eco-friendly options. These are better for the environment and often provide great quality.
- Upgrade for Comfort: Maybe you’ve advanced in your practice and need a mat with more cushioning or one that suits a new style of yoga. Don’t hesitate to upgrade.
Regular inspection and maintenance can prolong your yoga mat’s life, but knowing when to replace it is key to a safe and effective practice. When you start shopping for a new one, remember the features that you valued most in your previous mat, and if possible, recycle or repurpose the old one. Keep ‘cleaning a yoga mat’ as a consistent part of your routine to extend the life of your new mat as well.
Storing Your Yoga Mat to Prevent Dirt Build-Up
Proper storage of your yoga mat is crucial to prevent dirt and keep it fresh. Here are straightforward steps to follow:
- Roll, Don’t Fold: It’s better to roll your yoga mat rather than to fold it. Folding can create creases that trap dirt.
- Use a Clean Surface: Always roll your mat on a clean surface. This avoids picking up debris from the floor.
- Keep It Dry: Ensure your mat is completely dry before storing. Dampness attracts dirt and can cause mold.
- Utilize a Mat Bag: A yoga mat bag can shield against dust and grime during storage and transport.
- Designate a Storage Spot: Have a specific spot to store your mat. Choose a cool, dry, and dirt-free area.
- Avoid Damp Areas: Stay away from storing your mat in damp places. Moisture can lead to bacteria and mold.
- Hang It Up: If possible, hang your mat to store. It reduces contact with dirty surfaces and keeps it unrolled.
By keeping these tips in mind during and after ‘cleaning a yoga mat’, you can significantly reduce dirt build-up and extend its lifespan.


