Introduction
Washing a motorcycle is an important aspect of maintenance. Start by rinsing the bike with water to remove any loose dirt and debris. Use a mild detergent or specifically formulated motorcycle cleaner to gently scrub the surface of the bike with a soft sponge or brush. Pay special attention to any areas with built-up grime or grease. Rinse thoroughly with clean water, making sure to remove all soap residue. Dry the motorcycle with a soft, clean cloth to prevent water spots. Finish by applying a protective wax or polish to keep the paint and metal surfaces looking new. Regular washing will help keep your motorcycle looking great and protect its resale value.
Owning a motorcycle comes with the responsibility of keeping it clean and well-maintained. Regular washing not only keeps your bike looking great but also helps to prevent corrosion, rust, and other damage. However, washing a motorcycle isn’t as simple as washing a car. There are specific techniques and products that are best suited for cleaning a motorcycle without causing any damage. In this guide, we will provide you with step-by-step instructions on how to properly wash your motorcycle to keep it looking its best.
Part 1: Preparing for the Wash
Level 1: Gathering Supplies
Before starting the washing process, it’s essential to gather all the necessary supplies. This includes a bucket, microfiber wash mitt, motorcycle-specific cleaning products, a hose or pressure washer, and a soft bristle brush for hard-to-reach areas. Additionally, make sure to have a suitable location, such as a shaded area, to wash your motorcycle to avoid water spots.
Level 2: Pre-Wash Inspection
Take a few moments to inspect your motorcycle for any areas that may need special attention. Check for bug splatters, road grime, and any other stubborn dirt or debris that will require extra effort to remove. This will help you to prioritize areas that need more attention during the wash.
Part 2: Rinsing the Motorcycle
Level 1: Rinse with Water
Start by rinsing your motorcycle with a hose or pressure washer to remove any loose dirt and grime. This is an important first step as it helps to loosen and remove surface contaminants, making the washing process more effective. Be cautious not to use too much pressure, especially around delicate areas such as the electrical components or bearings.
Level 2: Degrease the Engine (If Needed)
If your motorcycle’s engine is particularly dirty, you may need to use a degreaser specifically designed for motorcycles. Apply the degreaser to the engine and let it sit for a few minutes to break down any built-up grease and grime. Then, rinse thoroughly with water, being careful not to spray directly onto any electrical components.
Part 3: Washing the Motorcycle
Level 1: Using Motorcycle-Specific Cleaning Products
It’s important to use cleaning products that are specifically designed for motorcycles to avoid damaging the paint, chrome, or other surfaces. Choose a motorcycle wash soap and follow the manufacturer’s instructions for mixing the appropriate ratio with water in your bucket. Do not use dish soap or other household cleaners as they can be too harsh on the surfaces of your motorcycle.
Level 2: Wash methodically
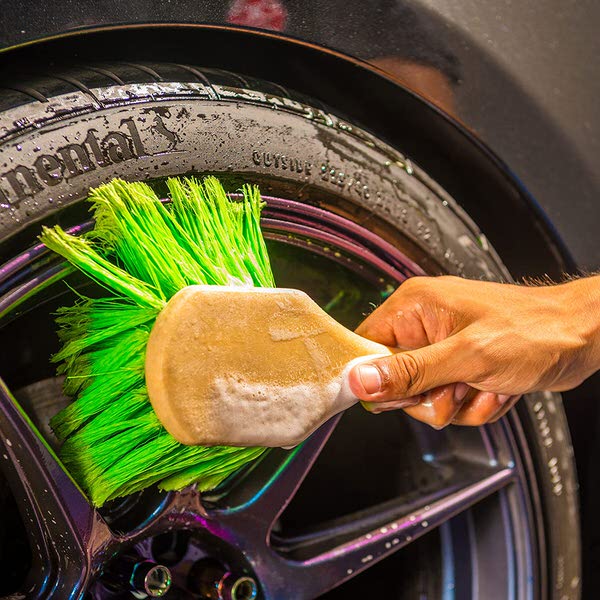
Using a clean microfiber wash mitt, dip it into the soapy water and begin washing your motorcycle from top to bottom. Work in small sections, starting with the front and working your way to the back. Be gentle and avoid applying excessive pressure to prevent scratching the paint or chrome surfaces. For hard-to-reach areas, use a soft bristle brush to gently agitate the dirt and grime.
Part 4: Drying the Motorcycle
Level 1: Air Dry (Optional)
If you have access to a leaf blower or air compressor with a gentle attachment, you can use it to blow off excess water from your motorcycle. This will help prevent water spots and make the drying process quicker and more effective.
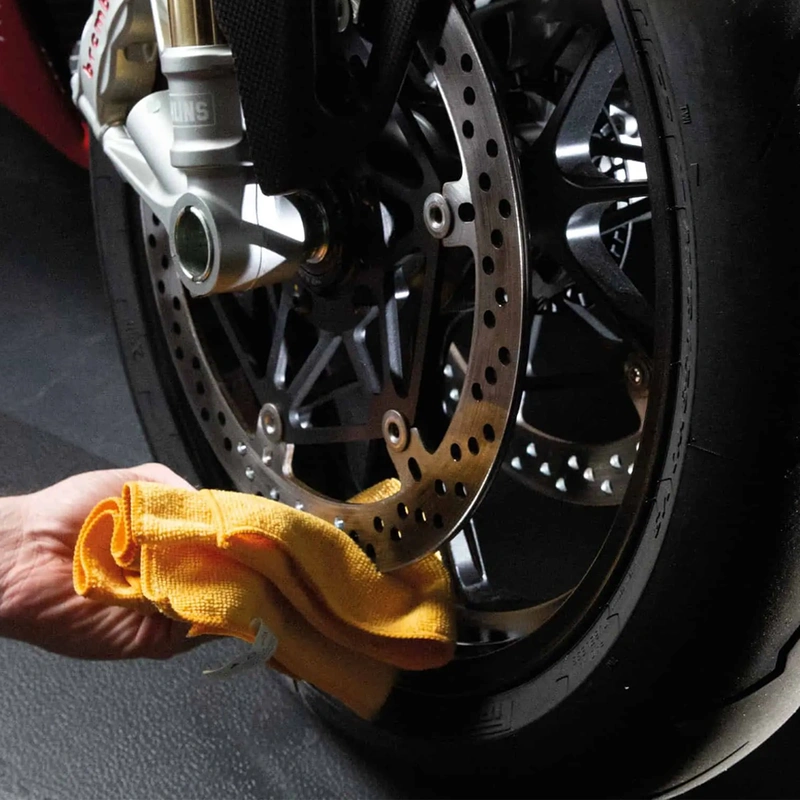
Level 2: Use a Microfiber Cloth
Once the majority of the water has been removed, use a clean, dry microfiber cloth to gently dry the remaining water droplets from the surface of your motorcycle. Pay special attention to areas with intricate details and grooves to ensure all moisture is removed.
Part 5: Finishing Touches
Level 1: Apply Protectant
After the motorcycle is dry, consider applying a suitable protectant to help maintain the shine and protect the surfaces from UV rays and other environmental contaminants. You can use motorcycle-specific wax or polish to add an extra layer of protection to the paint and chrome.
Level 2: Clean and Protect Seals and Rubber
Don’t forget to clean and protect rubber components and seals on your motorcycle. Use a rubber protectant to prevent drying and cracking, and keep them looking fresh and new. This is important for maintaining the longevity of these components.

Part 6: Drying the Motorcycle
After washing the motorcycle, take a microfiber cloth and dry off the excess water. Make sure to dry all the parts thoroughly, including any hard-to-reach areas. This will help prevent water spots and corrosion from forming on the bike.
Part 7: Lubricating Moving Parts
Once the motorcycle is completely dry, it’s a good idea to lubricate any moving parts such as the chain, cables, and suspension components. Using a dedicated lubricant for each part will help keep them functioning properly and extend their lifespan. Be sure to follow the manufacturer’s recommendations for the type of lubricant to use and how often to apply it.
Part 8: Final Inspection
Washing and drying a motorcycle is an important part of maintenance to keep the bike looking good and prevent corrosion and damage to its components. Here is a step-by-step guide for washing and drying your motorcycle.
- Start by parking the motorcycle in a shaded area and letting it cool down if it’s been recently ridden.
- Rinse the bike with a hose to remove any loose dirt and debris.
- Use a mild detergent or specifically formulated motorcycle cleaner to wash the bike. Start from the top and work your way down, using a soft sponge or brush to gently scrub the surfaces.
- Pay special attention to hard-to-reach areas like the engine, wheels, and undercarriage.
- Rinse the bike thoroughly with clean water, making sure to remove all traces of soap.
- Use a microfiber cloth to dry the motorcycle, starting from the top and working your way down. Be gentle to avoid scratching the paint or other surfaces.
- Use a separate dry microfiber cloth to dry any chrome or metal surfaces.
- Once the motorcycle is completely dry, apply a protective wax or sealant to the painted surfaces to help maintain the finish and protect against environmental damage.
By following these steps, your motorcycle will not only look great but will also remain in good condition for years to come. Remember to regularly wash and dry your motorcycle to keep it looking its best.

Conclusion
Regularly washing your motorcycle is an essential part of maintenance and can prolong the life of your bike while keeping it looking its best. By following the steps outlined in this guide and using the right products and techniques, you can ensure that your motorcycle remains in top condition for years to come.
After washing and drying the motorcycle, take a few minutes to inspect the entire bike for any signs of damage or wear. Look for any loose or missing parts, scratches, dents, or rust. If you notice any issues, make a plan to address them as soon as possible to keep your motorcycle in top condition. Additionally, consider applying a coat of wax to protect the paint and keep your motorcycle looking its best.
So, roll up your sleeves, grab your bucket and microfiber wash mitt, and give your motorcycle the love and care it deserves. Happy riding!