Introduction to DIY Yoga Mat Cleaners
The commitment to practicing yoga often comes with a desire to embrace a more natural, holistic lifestyle. This extends beyond the mat to the type of cleaner you use. Store-bought yoga mat cleaners can contain chemicals that many of us would prefer to avoid. A homemade, DIY yoga mat cleaner not only provides a non-toxic alternative but also allows for customization in scent and cleaning strength, tailored to personal preferences and the specific needs of your yoga mat material.
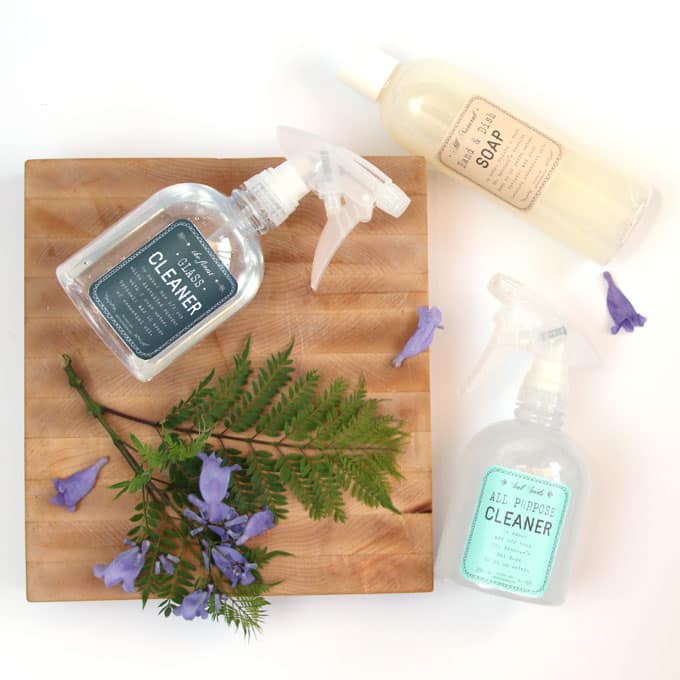
Creating your own yoga mat cleaner is simple, cost-effective, and environmentally friendly. By opting for natural ingredients like witch hazel, essential oils, and distilled water, you can design a product that is both kind to your mat and to your well-being. A DIY solution also grants you peace of mind, knowing exactly what’s going onto the surface you spend so much time on.
Using essential oils in your yoga mat cleaner serves multiple purposes. They bring their natural anti-microbial properties to the forefront, ensuring your mat remains free of bacteria and fungi. Additionally, the aromatherapy benefits of essential oils such as lavender or tea tree can enhance the calming and centering experience of your yoga practice. Keep in mind that the actual making of the cleaner can be a meditative and enjoyable process in itself.
As we move forward, we’ll delve into not only the “how” of making your own yoga mat cleaner but also why regular cleaning is essential for both hygiene and mat longevity. We’ll discuss which ingredients work best for different types of yoga mats, and we’ll provide a guide to help you mix the perfect cleaning solution. Finally, we’ll cover storage and usage tips to make the most of your DIY yoga mat cleaner.
Embrace the full yogic lifestyle by starting with this small, yet significant, step towards a more natural practice. Let’s begin our journey into the world of DIY natural solutions for keeping your yoga mat fresh and clean.
The Importance of Cleaning Your Yoga Mat
Maintaining a clean yoga mat is essential for several reasons. Firstly, it prevents the buildup of bacteria and mold that can thrive on the sweat and oils left behind after your practice. These unwelcome guests can lead to odors and potentially skin irritations or infections.
Secondly, a clean mat provides a better grip, ensuring your safety during poses. Residue from body oils and lotions can create a slippery surface, increasing the chance of slipping.
Regular cleaning also extends the life of your mat. Materials like PVC or rubber can degrade over time when not properly cared for, and frequent cleaning helps preserve these surfaces.
Moreover, a fresh mat enhances your yoga experience, allowing you to focus on your practice without distractions. A mat carrying lingering scents can disrupt the tranquility of your session.
Lastly, cleaning your mat is a way to respect the space you practice in. Whether it’s at home or in a studio, a clean mat contributes to a hygienic and inviting environment for everyone.
Embracing routine cleaning with a DIY yoga mat cleaner allows you to maintain your mat’s hygiene effectively and naturally. Let’s explore the best ways to create and use natural cleaners that are kind to your mat and your practice.
Essential Oils for a Fresh and Anti-Microbial Clean
When crafting your own yoga mat cleaner diy, essential oils are a must. They not only leave your mat smelling great, but they also fight germs effectively. Here, we dive into which essential oils to include for their anti-microbial properties and stress-relieving scents.
Anti-Microbial Essential Oils
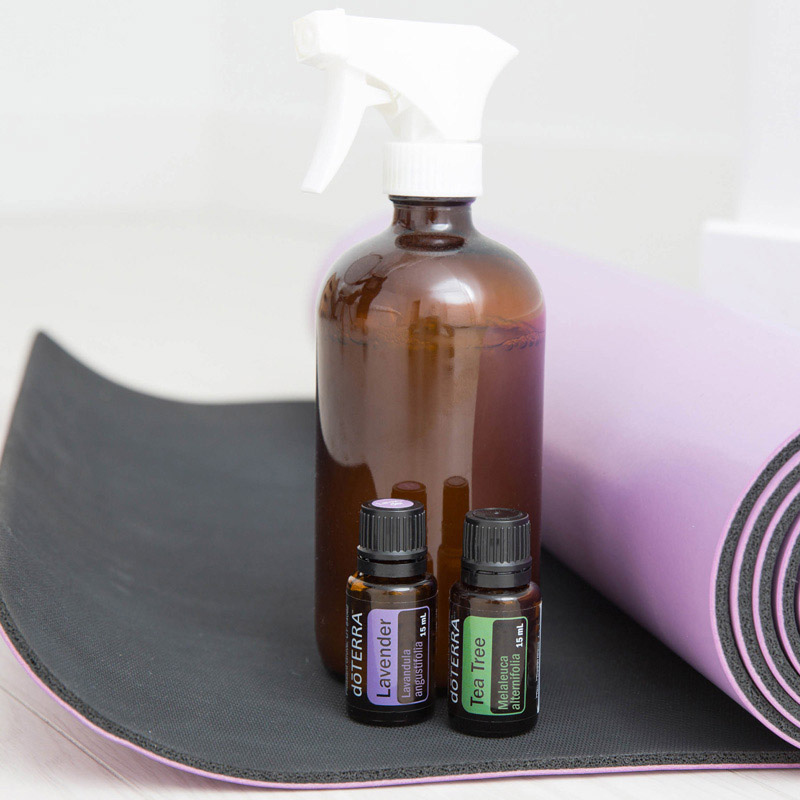
Several essential oils are known for their ability to clean naturally and neutralize bacteria. Tea tree oil, a powerhouse in cleansing, is one of these. It’s widely praised for its anti-bacterial and anti-fungal qualities. Eucalyptus oil, with its strong microbial resistance, is another great choice. Lavender and peppermint oils are not only anti-microbial but also offer calming and uplifting aromas which enhance your yoga practice.
Aromatherapy Benefits
In addition to cleanliness, the right essential oils can elevate your experience on the mat. Lavender oil is renowned for its relaxing effects, making it perfect for a restorative session. Peppermint oil sharpens focus and clears the mind, ideal for meditation and focused flows. For a boost in mood, consider adding citrus oils like lemon or orange.
Mixing Essential Oils
The secret to a successful yoga mat cleaner lies in the right blend of oils. Limit your mix to three to four different oils to avoid overpowering scents. Start with tea tree or eucalyptus as your base for their anti-bacterial properties. Next, add oils like lavender or peppermint for their scents and additional benefits. Experiment to find a blend that works best for you.
Remember to use these oils sparingly—usually a few drops in your mixture is enough. Essential oils are potent, and a little goes a long way. Always shake your cleaner well before use to ensure the oils are evenly distributed.
Choosing the Right Ingredients for Your Yoga Mat Cleaner
When it comes to creating a DIY yoga mat cleaner, selecting the right ingredients is vital for both effectiveness and safety. Here are some key components to consider for your homemade concoction.
Witch Hazel as a Natural Cleansing Agent
Start with witch hazel, a natural astringent that helps remove oils and sweat while being gentle on most mat surfaces. It’s important to choose an alcohol-free witch hazel to avoid drying out your yoga mat.
Distilled Water to Dilute and Mix
Use distilled water as the base of your cleaner. It’s free of impurities and minerals that could harm your mat or leave residue. Blending witch hazel with distilled water creates a safe and effective cleaning solution.
The Role of Essential Oils
Essential oils are crucial for their anti-microbial properties and pleasant scents. Tea tree oil is popular for its strong cleansing qualities. Eucalyptus and lavender oils add a fresh smell and bolster the anti-microbial action. Be cautious with the amount – a few drops are typically sufficient.
Avoiding Harsh Chemicals
Keep your DIY cleaner free from harsh chemicals such as bleach or ammonia. These can damage the mat’s surface and may be harmful to your health. Stick to natural ingredients that ensure a non-toxic clean.
Customizing Your Cleaner
You have the freedom to customize your cleaner to suit your preferences. Some prefer a hint of citrus for an energizing fragrance, while others might lean toward calming scents like chamomile. Experiment with different combinations to find your signature blend.
A Note on Mat Compatibility
Always check the manufacturer’s recommendations for cleaning your specific yoga mat. Some mats are sensitive to essential oils or certain natural cleaners. When in doubt, patch test your cleaner on a small area of the mat before regular use.
Selecting the right ingredients for your yoga mat cleaner is an easy and essential step in your DIY process. It ensures a hygienic, pleasant-smelling mat and a more enjoyable yoga experience.
Step-by-Step Guide to Making Homemade Yoga Mat Spray
Creating a natural yoga mat cleaner is both a practical and a fulfilling task. This guide will take you through the process step by step, ensuring your mat stays fresh and germ-free without the use of harsh chemicals. Here is how you can create an effective and pleasant-smelling yoga mat spray at home.
Gather Your Ingredients
First, collect all necessary items:
- Alcohol-free witch hazel
- Distilled water
- Essential oils (tea tree, lavender, eucalyptus)
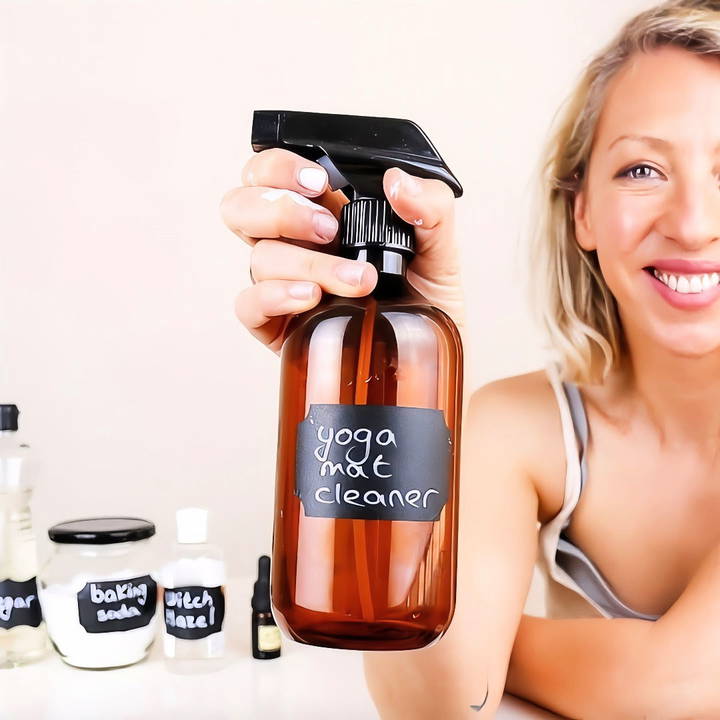
- A clean spray bottle, preferably glass
Mix the Base
Pour equal parts of distilled water and witch hazel into the spray bottle. This mixture serves as the cleaning base, with witch hazel acting as a natural disinfectant.
Add Essential Oils
Next, add a few drops of tea tree oil for its strong anti-microbial properties. Then include lavender and eucalyptus oils for their scent and additional cleaning power. Remember, a little goes a long way—about 6 to 10 drops of each should suffice.
Shake Well
Once you’ve combined the ingredients, securely close the bottle. Shake it well to ensure the oils and base are thoroughly mixed.
Label Your Spray
To avoid any mix-ups, create a label for your spray bottle. Note the ingredients and the date it was made.
How to Use
To clean your mat, lightly spray the mixture onto the surface. Let it sit for a moment, then wipe it down with a clean cloth. Allow your mat to air dry completely before rolling it back up.
By following these simple steps, your homemade yoga mat spray will keep your mat clean and aromatic, enhancing your yoga practice.

Special Considerations for Different Yoga Mat Materials
When crafting a yoga mat cleaner diy, it’s key to know the material of your mat. Different materials require different care. This section will help you tailor your cleaner to your mat’s specific needs.
Understanding Your Yoga Mat’s Material
Yoga mats can be made of PVC, rubber, TPE, or other eco-friendly materials. Check your mat’s label or brand website for this info. PVC and TPE mats often handle essential oils well, but always patch test first.
Adjusting Cleaner Strength
For rubber or eco mats, dilute your cleaner more. They can be sensitive to strong solutions. More water and less witch hazel in your mix can prevent damage. Avoid soaking these mats, as they absorb water.
Essential Oils and Mat Types
Some mats, like those from Lululemon, may not take well to oils. They have open pores that can trap oil. In such cases, use fewer drops of essential oils or skip them altogether. For closed-cell mats like Manduka, oils are usually safe to use.
Always match your cleaner to the material of your mat for the best care. Understanding your mat’s needs ensures a long-lasting, fresh-smelling yoga practice space.
Storing and Using Your DIY Yoga Mat Cleaner
Once you’ve created your natural yoga mat cleaner, proper storage and usage are key to its effectiveness. These tips ensure that your cleaner remains potent and safe to use over time.
Proper Storage of Your Yoga Mat Cleaner
Keep your freshly made yoga mat spray in a cool, dark place. A cupboard away from sunlight works well. If your spray bottle is clear, wrap it in a cloth to shield it from light. Always ensure the bottle cap is tight to keep the essential oils from evaporating. Remember to label your bottle with the date of making so you can track its freshness.
Usage and Application
Use your DIY cleaner after each yoga session. Spray a light mist over your mat. Wait a few moments to let the cleaner absorb. Gently wipe the surface with a clean cloth. Let the mat air dry fully before rolling it up. This keeps your mat clean and maintains a good grip for your next session.
Frequency of Cleaning
How often you clean your mat depends on your practice. If you do hot yoga or sweat a lot, clean after each use. For less intense styles, once a week may be enough. Always clean your mat if it starts to smell or look dirty.
Long-lasting Freshness
To keep your mat smelling fresh, consider a quick spray after every few sessions. This keeps odors at bay and prolongs the time between deep cleans. Ensure your mat is completely dry before storage to prevent mold growth.
These simple storage and usage guidelines will help maintain the quality of your yoga mat cleaner. Implement these habits for a consistently clean and enjoyable yoga practice.
Tips for Regular Yoga Mat Maintenance and Care
Regular maintenance is crucial for keeping your yoga mat in top condition. Here are some easy-to-follow tips that will help you take the best care of your mat:
- Clean After Every Use: A quick wipe down after each session prevents the build-up of sweat and bacteria. This simple step can greatly extend your mat’s lifespan.
- Air Dry Completely: After cleaning, lay your mat out flat to dry completely. Rolling up a damp mat can lead to mold and mildew, which is both unsightly and unhealthy.
- Roll With Care: Once dry, roll up your yoga mat loosely. Tight rolls can cause the material to stretch or crease, which might affect your mat’s flatness during practice.
- Avoid Prolonged Sun Exposure: Direct sunlight can fade and deteriorate the materials of your yoga mat. When drying, choose a shady spot.
- Store Properly: Keep your mat in a cool, dry place, away from direct heat sources. This helps prevent the material from becoming brittle or sticky.
- Deep Clean Monthly: Beyond your regular cleaning, perform a deep clean once a month. This can be as simple as a more thorough spraying and wiping or a gentle wash for those mats that can handle it.
- Check Manufacturer Instructions: Different yoga mat brands have specific care instructions. Always refer to these guidelines to ensure that your cleaning method is appropriate.
- Use Appropriate Cleaning Solutions: Stick with the yoga mat cleaner diy you made, tailored to your mat’s material. Avoid commercial cleaners with harsh chemicals.
Keeping these tips in mind, you can ensure a healthy, effective yoga practice on a clean and well-maintained mat. Regular care not only provides a more pleasant yoga experience but also promotes longevity, making your mat a lasting companion in your wellness journey.